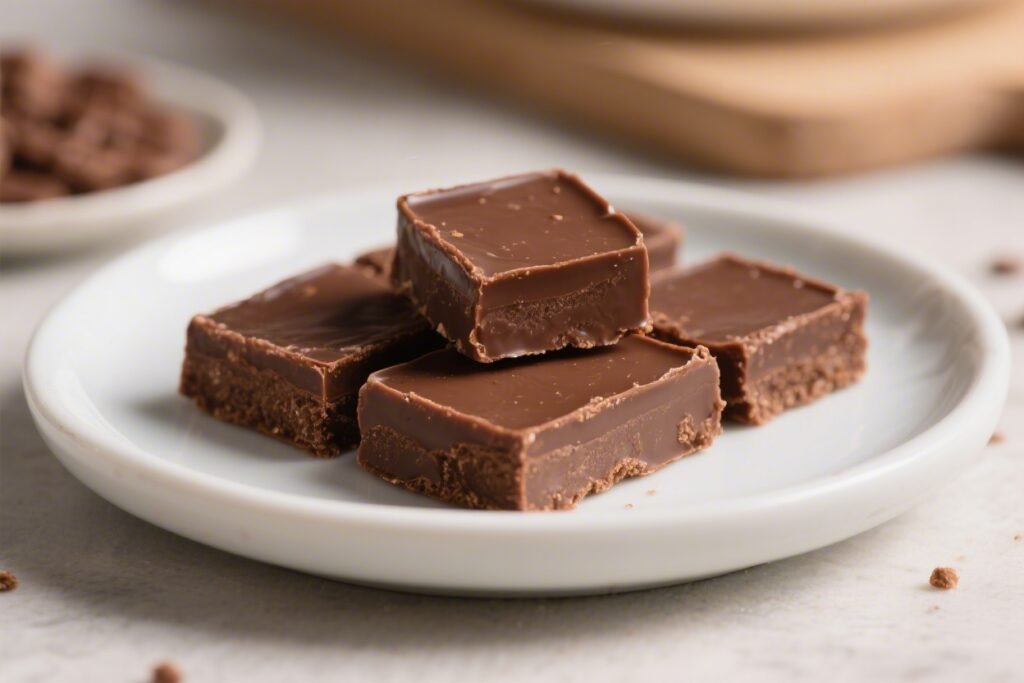
If you’ve been craving a chocolate fix without the sugar crash, this low carb chocolate fudge is your new favorite treat. It’s silky, deeply chocolaty, and takes just a few minutes of hands-on time. You don’t need fancy equipment, and it sets perfectly in the fridge.
Whether you’re following keto or just cutting back on sugar, this fudge hits the spot without feeling like a compromise.
Low Carb Chocolate Fudge - Rich, Creamy, and Surprisingly Simple
Ingredients
- Unsalted butter (or coconut oil for dairy-free)
- Full-fat coconut milk (canned, well-shaken) or heavy cream
- Unsweetened baking chocolate (or sugar-free dark chocolate, at least 85%)
- Natural nut butter (almond, peanut, or cashew; no added sugar)
- Powdered low-carb sweetener (monk fruit-erythritol blend or allulose)
- Unsweetened cocoa powder (Dutch-process or natural)
- Vanilla extract
- Fine sea salt
- Optional add-ins: chopped pecans or walnuts, cocoa nibs, instant espresso, flaky sea salt, orange zest, sugar-free peppermint extract
- Nonstick spray or parchment paper (for the pan)
Instructions
- Prep the pan: Line an 8x8-inch square pan with parchment, leaving overhang on two sides for easy lifting. Lightly spray the parchment if it tends to stick.
- Set up a gentle heat: In a small saucepan over low heat, add the butter and coconut milk (or heavy cream). Warm until the butter melts and the mixture steams, but do not let it boil.
- Melt the chocolate: Add chopped unsweetened baking chocolate to the warm mixture. Stir constantly until smooth and glossy. Keep the heat low to avoid scorching.
- Stir in nut butter: Add the nut butter and mix until fully incorporated. The mixture should look thick and unified.
- Add sweetener and cocoa: Whisk in powdered sweetener and cocoa powder. Taste and adjust sweetness if needed. If the mixture tastes slightly less sweet than you want, that’s perfect—chilled fudge tastes a bit sweeter.
- Finish with flavor: Remove from heat. Stir in vanilla extract and a pinch of fine sea salt. If using espresso powder or orange zest, add it now.
- Optional mix-ins: Fold in chopped nuts or cocoa nibs for texture.
- Pour and smooth: Scrape the mixture into the prepared pan. Smooth the top with a spatula. If using flaky sea salt, sprinkle a small pinch over the surface.
- Chill to set: Refrigerate for 2–3 hours, or until firm enough to slice cleanly. For faster setting, place in the freezer for 45–60 minutes.
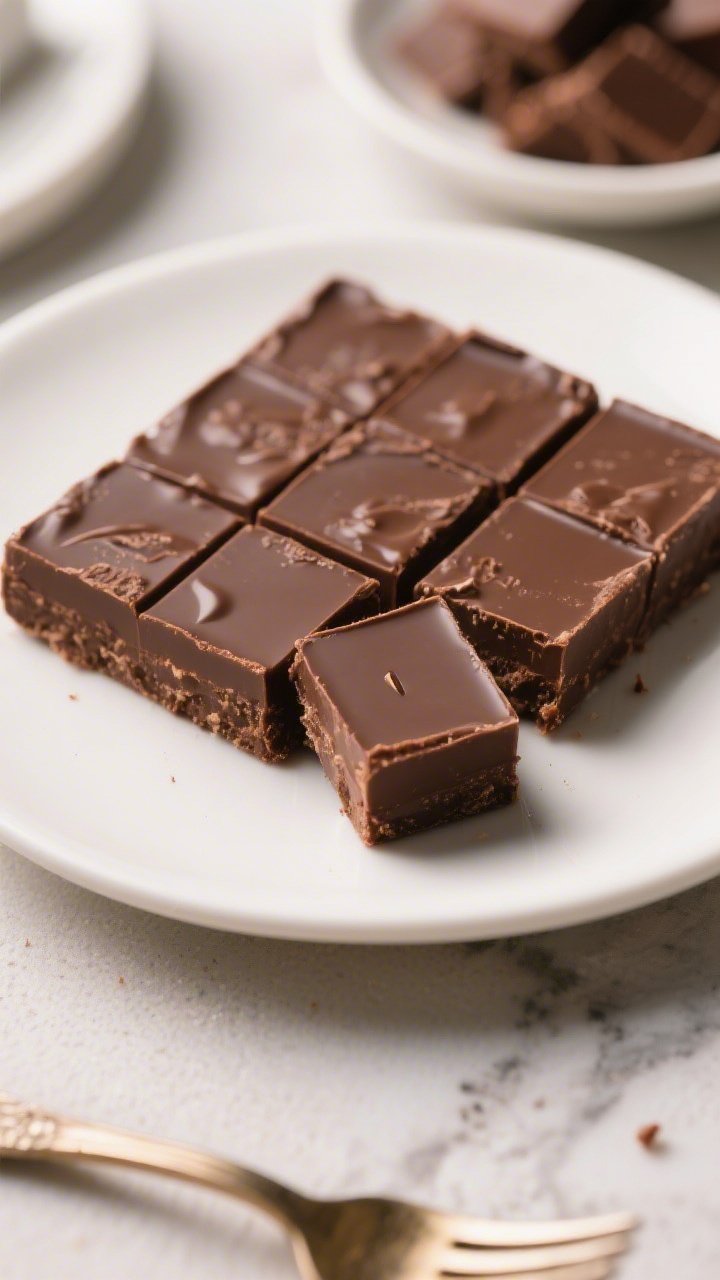
- Slice and serve: Lift the fudge out using the parchment overhang. Cut into small squares (about 1–1.5 inches). A hot, dry knife helps make tidy cuts—dip in hot water, wipe dry, then slice.
What Makes This Recipe So Good

This recipe leans on healthy fats and smart sweeteners to deliver classic fudge texture and flavor. It’s not gritty, waxy, or overly sweet—just rich and satisfying. The instructions are straightforward, so even beginners can nail it.
Plus, it’s flexible. You can keep it pure chocolate or add nuts, coffee, or sea salt for extra flair. And unlike store-bought sugar-free sweets, you control the ingredients, so there are no surprises.
- Ultra-creamy texture: Cocoa butter and nut butter give it that melt-in-your-mouth feel.
- Low carb and keto-friendly: Uses monk fruit or erythritol-based sweeteners instead of sugar.
- Quick to make: About 10 minutes of prep, then chill.
- Customizable: Add-ins like nuts, cocoa nibs, or extracts make it easy to switch up.
- Make-ahead friendly: Keeps well in the fridge or freezer for when cravings hit.
Shopping List
- Unsalted butter (or coconut oil for dairy-free)
- Full-fat coconut milk (canned, well-shaken) or heavy cream
- Unsweetened baking chocolate (or sugar-free dark chocolate, at least 85%)
- Natural nut butter (almond, peanut, or cashew; no added sugar)
- Powdered low-carb sweetener (monk fruit-erythritol blend or allulose)
- Unsweetened cocoa powder (Dutch-process or natural)
- Vanilla extract
- Fine sea salt
- Optional add-ins: chopped pecans or walnuts, cocoa nibs, instant espresso, flaky sea salt, orange zest, sugar-free peppermint extract
- Nonstick spray or parchment paper (for the pan)
How to Make It
- Prep the pan: Line an 8×8-inch square pan with parchment, leaving overhang on two sides for easy lifting.
Lightly spray the parchment if it tends to stick.
- Set up a gentle heat: In a small saucepan over low heat, add the butter and coconut milk (or heavy cream). Warm until the butter melts and the mixture steams, but do not let it boil.
- Melt the chocolate: Add chopped unsweetened baking chocolate to the warm mixture. Stir constantly until smooth and glossy.
Keep the heat low to avoid scorching.
- Stir in nut butter: Add the nut butter and mix until fully incorporated. The mixture should look thick and unified.
- Add sweetener and cocoa: Whisk in powdered sweetener and cocoa powder. Taste and adjust sweetness if needed.
If the mixture tastes slightly less sweet than you want, that’s perfect—chilled fudge tastes a bit sweeter.
- Finish with flavor: Remove from heat. Stir in vanilla extract and a pinch of fine sea salt. If using espresso powder or orange zest, add it now.
- Optional mix-ins: Fold in chopped nuts or cocoa nibs for texture.
- Pour and smooth: Scrape the mixture into the prepared pan.
Smooth the top with a spatula. If using flaky sea salt, sprinkle a small pinch over the surface.
- Chill to set: Refrigerate for 2–3 hours, or until firm enough to slice cleanly. For faster setting, place in the freezer for 45–60 minutes.
- Slice and serve: Lift the fudge out using the parchment overhang.
Cut into small squares (about 1–1.5 inches). A hot, dry knife helps make tidy cuts—dip in hot water, wipe dry, then slice.
How to Store
- Refrigerator: Store in an airtight container for up to 2 weeks. Keep layers separated with parchment to prevent sticking.
- Freezer: Freeze for up to 3 months.
Wrap tightly and place in a freezer-safe container. Let sit at room temperature for 5–10 minutes before serving.
- Room temperature: Not recommended for long periods. The fudge softens quickly, especially in warm kitchens.
Health Benefits
- Lower sugar load: Using zero- or low-calorie sweeteners helps avoid blood sugar spikes and crashes.
- Healthy fats for satiety: Butter, coconut milk, and nut butter provide fats that help you feel full and satisfied with a small portion.
- Cocoa antioxidants: Unsweetened cocoa and dark chocolate contain flavanols that support heart health and may reduce oxidative stress.
- Customization for dietary needs: Choose coconut-based options to keep it dairy-free, and use peanut-free nut or seed butters if needed.
What Not to Do
- Don’t boil the mixture: High heat can split the fats or scorch the chocolate, leading to a grainy texture.
- Don’t use granular sweetener: It won’t dissolve smoothly and can make the fudge gritty.
Use a powdered sweetener.
- Don’t skip the salt: A small pinch heightens the chocolate flavor and balances sweetness.
- Don’t rush slicing: If it’s still warm or soft, the edges will smear. Let it fully set first.
- Don’t overload add-ins: Too many nuts or nibs can keep the fudge from holding together. Aim for about 1/2 to 3/4 cup total add-ins.
Variations You Can Try
- Mocha Fudge: Add 1–2 teaspoons instant espresso powder and top with cocoa nibs.
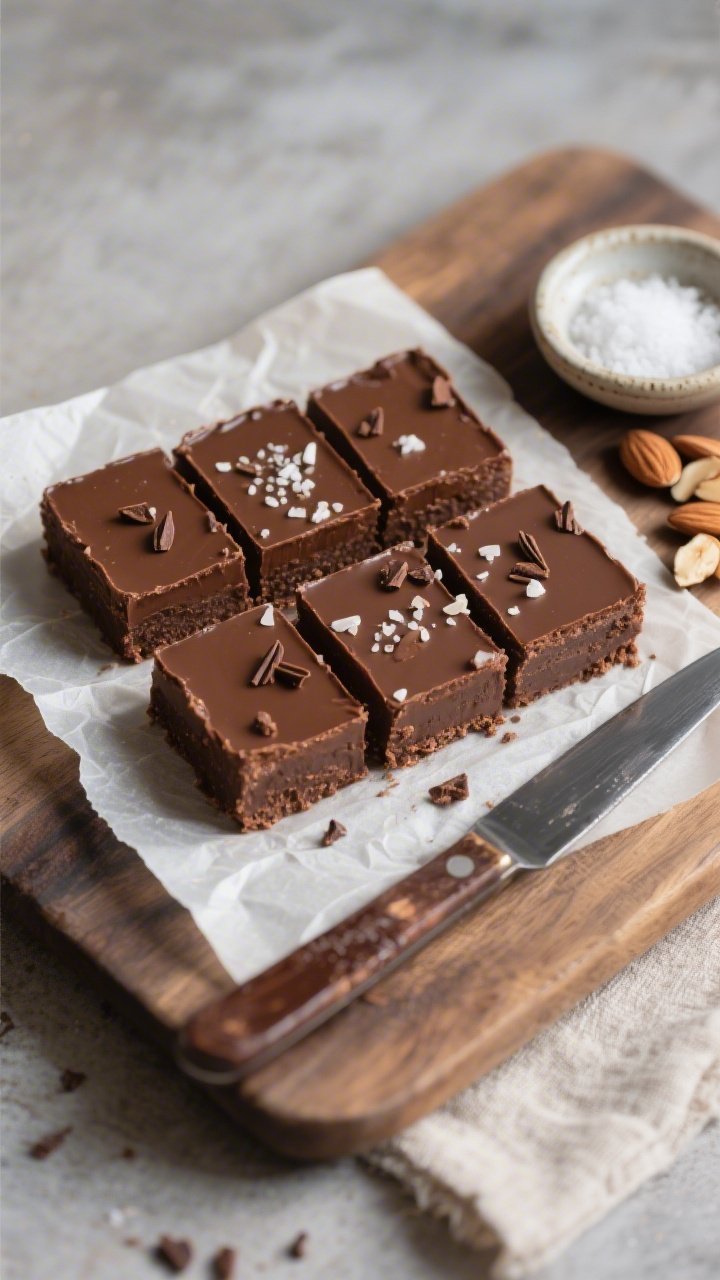
- Salted Almond Crunch: Fold in chopped roasted almonds and finish with flaky sea salt.
- Peppermint Swirl: Add 1/2 teaspoon peppermint extract and swirl in a spoonful of melted sugar-free white chocolate.
- Orange Dark Chocolate: Stir in 1 teaspoon fresh orange zest and a splash of vanilla.
- Coconut Truffle: Use coconut oil instead of butter, then fold in unsweetened shredded coconut.
- Peanut Butter Ribbon: Dollop a few teaspoons of warmed peanut butter over the top and swirl before chilling.
FAQ
What sweetener works best?
Powdered monk fruit-erythritol blends or powdered allulose both work well.
Allulose gives a slightly softer set and very smooth texture. If using a blend that includes stevia, start with less and adjust to taste to avoid bitterness.
Can I make this dairy-free?
Yes. Use coconut oil instead of butter and full-fat canned coconut milk.
The result will be slightly softer and have a subtle coconut note, which pairs nicely with chocolate.
Why is my fudge grainy?
Graininess usually means the sweetener didn’t dissolve or the mixture overheated. Use a powdered sweetener, keep the heat low, and stir constantly while melting the chocolate. If needed, blend the warm mixture briefly with an immersion blender for extra smoothness.
How many carbs are in a piece?
It depends on your ingredients and serving size.
As a ballpark, a 1-inch square made with unsweetened chocolate, allulose, and coconut milk typically lands around 1–2g net carbs. Always calculate based on your exact brands and amounts.
Can I use cocoa powder instead of baking chocolate?
You can, but you’ll need additional fat to make up for the missing cocoa butter. Increase butter by 2–3 tablespoons and use extra cocoa powder.
The texture may be slightly different but still delicious.
How do I get clean slices?
Chill the fudge until very firm, use a sharp knife warmed in hot water, and wipe the blade between cuts. Press straight down rather than sawing back and forth.
Is this suitable for keto?
Yes, as long as you use low-carb sweeteners and avoid added sugars in your chocolate and nut butter. Check labels for hidden carbs to stay within your goals.
Wrapping Up
This low carb chocolate fudge gives you the best of both worlds: rich, classic flavor with a fraction of the carbs.
It’s simple to make, endlessly customizable, and perfect for sharing—or stashing in the fridge for later. Keep a batch on hand, and you’ll always have a satisfying treat ready when the chocolate craving hits.