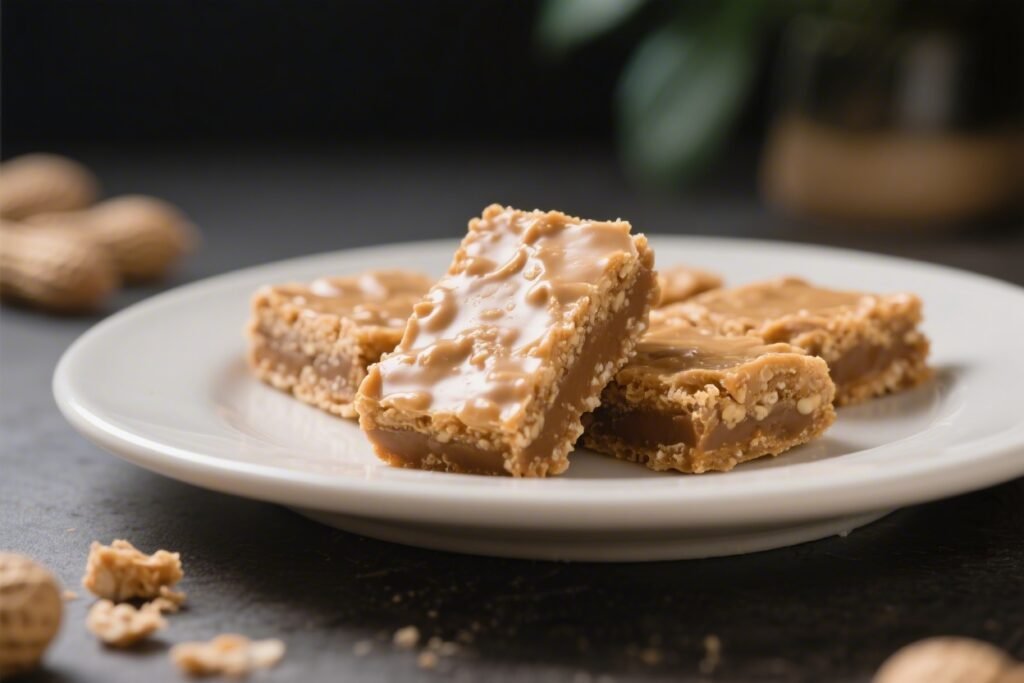
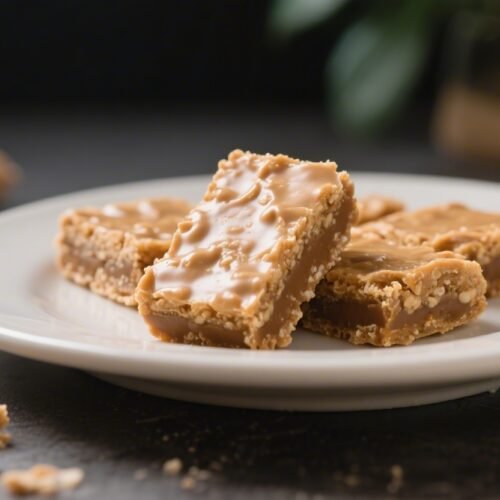
If you crave something sweet but don’t want a sugar crash, these Low Carb Peanut Butter Bars hit the spot. They’re rich, creamy, and taste like a peanut butter cup in bar form—without the heavy carbs. The texture is smooth with a light snap from a chocolate topping, and every bite feels indulgent.
Best of all, they’re no-bake and come together in minutes. Keep a pan in the fridge for a quick snack, dessert, or afternoon pick-me-up.
Low Carb Peanut Butter Bars - Easy, Satisfying, and No-Bake
Ingredients
- Natural peanut butter (unsweetened, creamy; look for just peanuts and salt)
- Almond flour (fine-blanched works best)
- Coconut flour (a small amount helps firm the bars)
- Butter or coconut oil (for a dairy-free option)
- Powdered or granular low-carb sweetener (erythritol, allulose, or a blend; powdered mixes easier)
- Vanilla extract
- Fine sea salt
- Sugar-free dark chocolate chips or a low-carb chocolate bar
- Coconut oil (a teaspoon or two for melting the chocolate)
- Optional add-ins: chopped peanuts, unsweetened shredded coconut, chia seeds
Instructions
- Prep the pan: Line an 8x8-inch pan with parchment paper, leaving overhang on two sides so you can lift the bars out later. This makes slicing clean and easy.
- Soften the base ingredients: In a medium bowl, add the peanut butter and butter. If they’re firm, microwave in 10–15 second bursts until soft and stirrable. You want a smooth, creamy mix—not hot and runny.
- Sweeten and flavor: Stir in the sweetener, vanilla, and a pinch of salt. Taste and adjust. If your peanut butter is unsalted, you may want a little more salt to balance the sweetness.
- Add the dry mix: Sprinkle in the almond flour and coconut flour. Mix until a thick dough forms. It should be pliable and not sticky. If it’s too soft, add a teaspoon more coconut flour at a time. If it’s too dry, add a teaspoon of melted butter or peanut butter.
- Press into the pan: Transfer the peanut butter mixture to the lined pan. Use a spatula or the back of a spoon to press it into an even layer. For a smooth top, lay a piece of parchment over the surface and press with your hands.
- Melt the chocolate: In a heat-safe bowl, combine the sugar-free chocolate and a teaspoon or two of coconut oil. Microwave in 20–30 second bursts, stirring between each, until smooth and glossy. Don’t overheat.
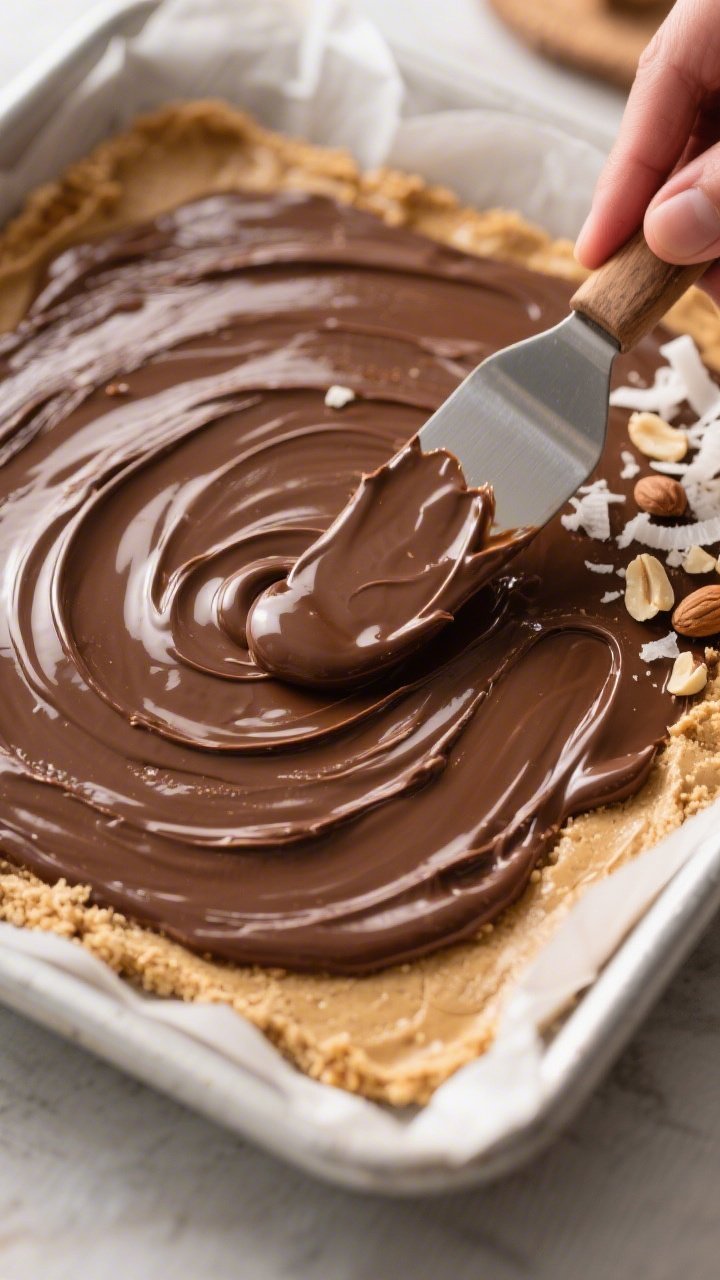
- Add the topping: Pour the melted chocolate over the peanut butter layer. Tilt the pan to spread it evenly, or use an offset spatula. If you’re adding chopped peanuts or coconut, sprinkle them on now.
- Chill: Refrigerate for 45–60 minutes, or until the chocolate has set and the base is firm. If you’re in a rush, freeze for 20–25 minutes.
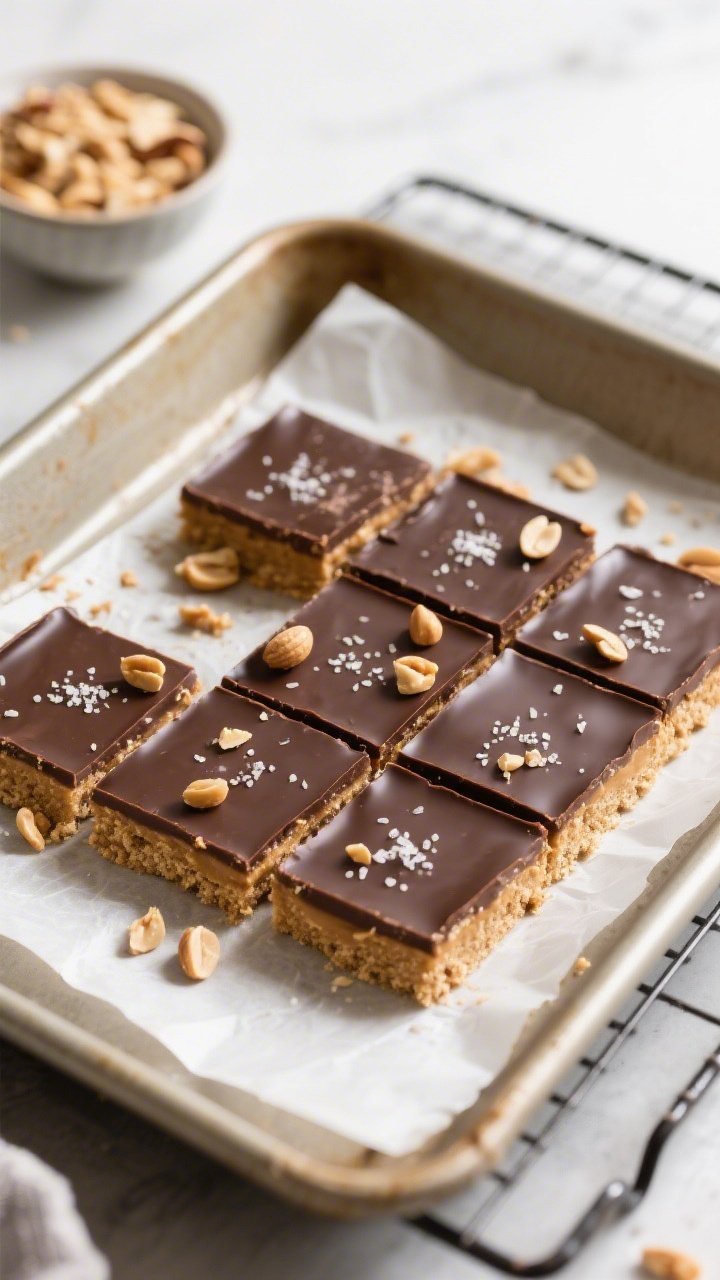
- Slice and serve: Lift the slab out using the parchment overhang. Let it sit at room temperature for 5 minutes before slicing to prevent the chocolate from cracking. Cut into 16 small squares or 12 larger bars.
What Makes This Special
These bars use simple pantry ingredients, but the flavor feels bakery-worthy. The base is a mix of peanut butter, almond flour, and a touch of sweetener that mimics a classic cookie crust—without any baking.
A thin layer of sugar-free chocolate gives you that candy-bar finish.
They’re low in carbs and higher in healthy fats, so they’re naturally satisfying. That means you’re less likely to go back for slice after slice. Plus, the recipe is flexible.
You can make it dairy-free, nut-free, or add a bit of texture with nuts or coconut.
Shopping List
- Natural peanut butter (unsweetened, creamy; look for just peanuts and salt)
- Almond flour (fine-blanched works best)
- Coconut flour (a small amount helps firm the bars)
- Butter or coconut oil (for a dairy-free option)
- Powdered or granular low-carb sweetener (erythritol, allulose, or a blend; powdered mixes easier)
- Vanilla extract
- Fine sea salt
- Sugar-free dark chocolate chips or a low-carb chocolate bar
- Coconut oil (a teaspoon or two for melting the chocolate)
- Optional add-ins: chopped peanuts, unsweetened shredded coconut, chia seeds
How to Make It
- Prep the pan: Line an 8×8-inch pan with parchment paper, leaving overhang on two sides so you can lift the bars out later. This makes slicing clean and easy.
- Soften the base ingredients: In a medium bowl, add the peanut butter and butter. If they’re firm, microwave in 10–15 second bursts until soft and stirrable.
You want a smooth, creamy mix—not hot and runny.
- Sweeten and flavor: Stir in the sweetener, vanilla, and a pinch of salt. Taste and adjust. If your peanut butter is unsalted, you may want a little more salt to balance the sweetness.
- Add the dry mix: Sprinkle in the almond flour and coconut flour.
Mix until a thick dough forms. It should be pliable and not sticky. If it’s too soft, add a teaspoon more coconut flour at a time.
If it’s too dry, add a teaspoon of melted butter or peanut butter.
- Press into the pan: Transfer the peanut butter mixture to the lined pan. Use a spatula or the back of a spoon to press it into an even layer. For a smooth top, lay a piece of parchment over the surface and press with your hands.
- Melt the chocolate: In a heat-safe bowl, combine the sugar-free chocolate and a teaspoon or two of coconut oil.
Microwave in 20–30 second bursts, stirring between each, until smooth and glossy. Don’t overheat.
- Add the topping: Pour the melted chocolate over the peanut butter layer. Tilt the pan to spread it evenly, or use an offset spatula.
If you’re adding chopped peanuts or coconut, sprinkle them on now.
- Chill: Refrigerate for 45–60 minutes, or until the chocolate has set and the base is firm. If you’re in a rush, freeze for 20–25 minutes.
- Slice and serve: Lift the slab out using the parchment overhang. Let it sit at room temperature for 5 minutes before slicing to prevent the chocolate from cracking.
Cut into 16 small squares or 12 larger bars.
Storage Instructions
- Refrigerator: Store bars in an airtight container for up to 1 week. Keep parchment between layers to avoid sticking.
- Freezer: Freeze for up to 2 months. Thaw in the fridge or at room temperature for 10–15 minutes before eating.
- On-the-go tip: If packing for later, keep them chilled with an ice pack.
The chocolate topping can soften in warm temps.
Benefits of This Recipe
- Low in carbs: Uses almond and coconut flour instead of wheat flour, and sugar-free sweeteners instead of sugar.
- Satisfying and balanced: Healthy fats and protein from peanuts help keep you full longer.
- No-bake and quick: Minimal equipment, easy cleanup, and ready to chill in minutes.
- Flexible for different diets: Easy to make dairy-free, gluten-free, or nut-free with simple swaps.
- Great for meal prep: Stores well, so you can portion a week’s worth of snacks in advance.
Common Mistakes to Avoid
- Using sweetened peanut butter: Check the label. Added sugar will bump up the carbs and change the texture.
- Skipping the coconut flour: A small amount helps firm the base. If you leave it out, the bars may be too soft.
- Overheating chocolate: Burnt chocolate turns grainy and won’t spread well.
Melt low and slow, stirring often.
- Cutting when too cold: Rock-hard chocolate cracks. Rest the slab a few minutes before slicing for clean edges.
- Not tasting the base: Sweetness varies by brand. Taste the mixture and adjust sweetener and salt before pressing into the pan.
Recipe Variations
- Nut-free version: Use sunflower seed butter and replace almond flour with finely ground sunflower seed meal.
Flavor stays close, with a mild, toasty note.
- Crunchy texture: Fold in chopped peanuts or toasted coconut for bite. About 1/4 to 1/3 cup is plenty.
- Protein boost: Add 1/4 cup unflavored or vanilla whey or plant protein to the base. If it gets dry, splash in a teaspoon of almond milk.
- Mocha swirl: Stir 1 teaspoon instant espresso into the melted chocolate for a coffee kick.
- Salted caramel vibe: Drizzle with a homemade sugar-free caramel sauce and finish with flaky sea salt.
- Peanut butter cup bars: Make the base thinner and add a thicker chocolate layer.
Top with a few crushed peanuts for the classic look.
FAQ
Can I use crunchy peanut butter?
Yes. Crunchy peanut butter works well and adds a nice texture. If it’s very thick, warm it briefly so it mixes smoothly with the flours and sweetener.
What sweetener works best?
Powdered erythritol or an erythritol-allulose blend dissolves easily and avoids grit.
Allulose gives a softer bite; erythritol sets a bit firmer. Adjust to taste.
Is almond flour required?
Almond flour gives the best crumb. If you need a swap, try sunflower seed meal for nut-free or very fine hazelnut flour for a twist.
Coconut flour alone won’t work—it’s too absorbent.
How low-carb are these bars?
It depends on your brands and portion size. As a ballpark, a small square made with unsweetened peanut butter, almond flour, and sugar-free chocolate can land around 3–5g net carbs. Always calculate with your exact ingredients.
Can I make them dairy-free?
Yes.
Use coconut oil instead of butter in the base and for melting the chocolate. The flavor stays rich, with a light coconut note.
Why are my bars crumbly?
They likely have too much dry ingredient or not enough fat. Mix in a teaspoon of melted butter or peanut butter at a time until the base holds together when pressed.
Why didn’t my chocolate set?
If the room is warm or you added too much oil, the topping may stay soft.
Chill longer, or reduce the coconut oil next time so the chocolate firms up cleanly.
Can I skip the chocolate layer?
Absolutely. The base is sweet and satisfying on its own. You can also replace chocolate with a sprinkle of chopped nuts or a quick peanut drizzle thinned with a touch of coconut oil.
How should I slice without cracking?
Let the bars rest at room temperature for 5 minutes, then use a sharp knife warmed under hot water and dried.
Press straight down rather than sawing.
Do these taste like “diet” food?
No. They taste like a classic peanut butter bar—rich, slightly sweet, and chocolatey. The low-carb swaps are subtle and let the peanut flavor shine.
In Conclusion
Low Carb Peanut Butter Bars make dessert simple, satisfying, and budget-friendly.
With a few pantry staples and no oven, you can whip up a batch that keeps well all week. They’re easy to customize and friendly to a range of diets. Keep this recipe close for weeknights, meal prep, or any time you want a sweet treat without the sugar rollercoaster.
